Over the past few weeks I’ve been attempting to anodise aluminium. I’d watched a few videos on YouTube of people doing it successfully and thought I should try it. Turns out it’s a little bit harder than they made it seem (or I’m not as smart as they are) so it ended up taking 13 attempts across 3 weekends before I got a result I was happy with. The following is the method I used to get good results along with a list of things I did wrong so that you can learn from my mistakes.
My Method For Anodising Aluminum
First of all, keep in mind, this is not a definitive guide, I’m no expert. This is just what worked for me.
- Put rubber gloves on (probably some eye protection is a good idea too).
- Clean the part. I used a rag and brake cleaner.
- Attach part to holder. I machined an aluminium piece that screws into a threaded hole on my part.
- Soak the part in a sodium hydroxide (aka caustic soda or lye) solution for 5 minutes.
- Take the part out and give it a wipe all over with a paper towel and a rinse with distiled water.
- Put it back in the sodium hydroxide for another 2 minutes before rinsing with distilled water.
- Hang part in anodising bath. I used a 1:1 mix of sulfuric/battery acid and distiled water in a small plastic bucket. I got the battery acid from the local battery shop for NZ$5.00 / liter.
- Put cathode in bath. I used a short length of alimunium pipe (about 100 mm diameter).
- Connect up power supply, turn on and leave for 45 minutes. I used a constant current supply at about 0.28 mA/mm^2. You should see small bubbles forming evenly over the whole surface of the part. I saw bigger bubbles when the part wasn’t cleaned properly.
- Take part out of anodising bath.
- Hang part in dye bath for 20 minutes. I used distilled water and a bottle of liquid Rit fabric dye.
- Rinse the part in distilled water.
- Boil part in distilled water for 30 minutes.
- Rinse off and admire your great looking part. Alternatively, swear and try to work out what you did wrong.
Things I Did Wrong
- Not cleaning enough. From what I watched and read, people kept emphasising how important cleaning the part is. Some of my failed parts I cleaned quite throughly with soapy water, brake cleaner and isopropyl alcahol. It wasn’t until I soaked the part in sodium hydroxide (aka caustic soda or lye) that I got a consistent, even colouring.
- Poor electrical connection between holder and part. To start with I was using a length of aluminium welding wire wrapped through a hole in my part. This is not good enough and it seems like the current flows into the wire and straight into the acid bath rather than through the part. The result is either the wire breaking (eaten away) or the part not taking on colour. When I changed my setup so that the wire was not in the bath (eg. only the part in the bath), I got good results. I then took this further by machining a small threaded holder for my parts that screws in to the part ensuring a good electrical connection. This meant I could anodise the entire surface of the part (apart from the threaded hole) and it all took on colour.
- Letting the part sit on the bottom of the dye bath. This caused the colour to be blotchy and inconsistent. When I hung the part in the dye, the colouring was more consistent.
Things That I’ve Seen Other People Say But I Can’t Vouch For
- Cathode should have at least twice the surface area of the anode.
- Keeping the anodising bath cool can help.
- Fabric dye can fade over time, so you should use proper anodising dye.
- People report a wide range of currents and anodising times
- Pour acid in to water rather than the other way around
- You can use lead or titanium as your cathode
- Nothing other than alminium, lead or titanium should go in your anodising bath.
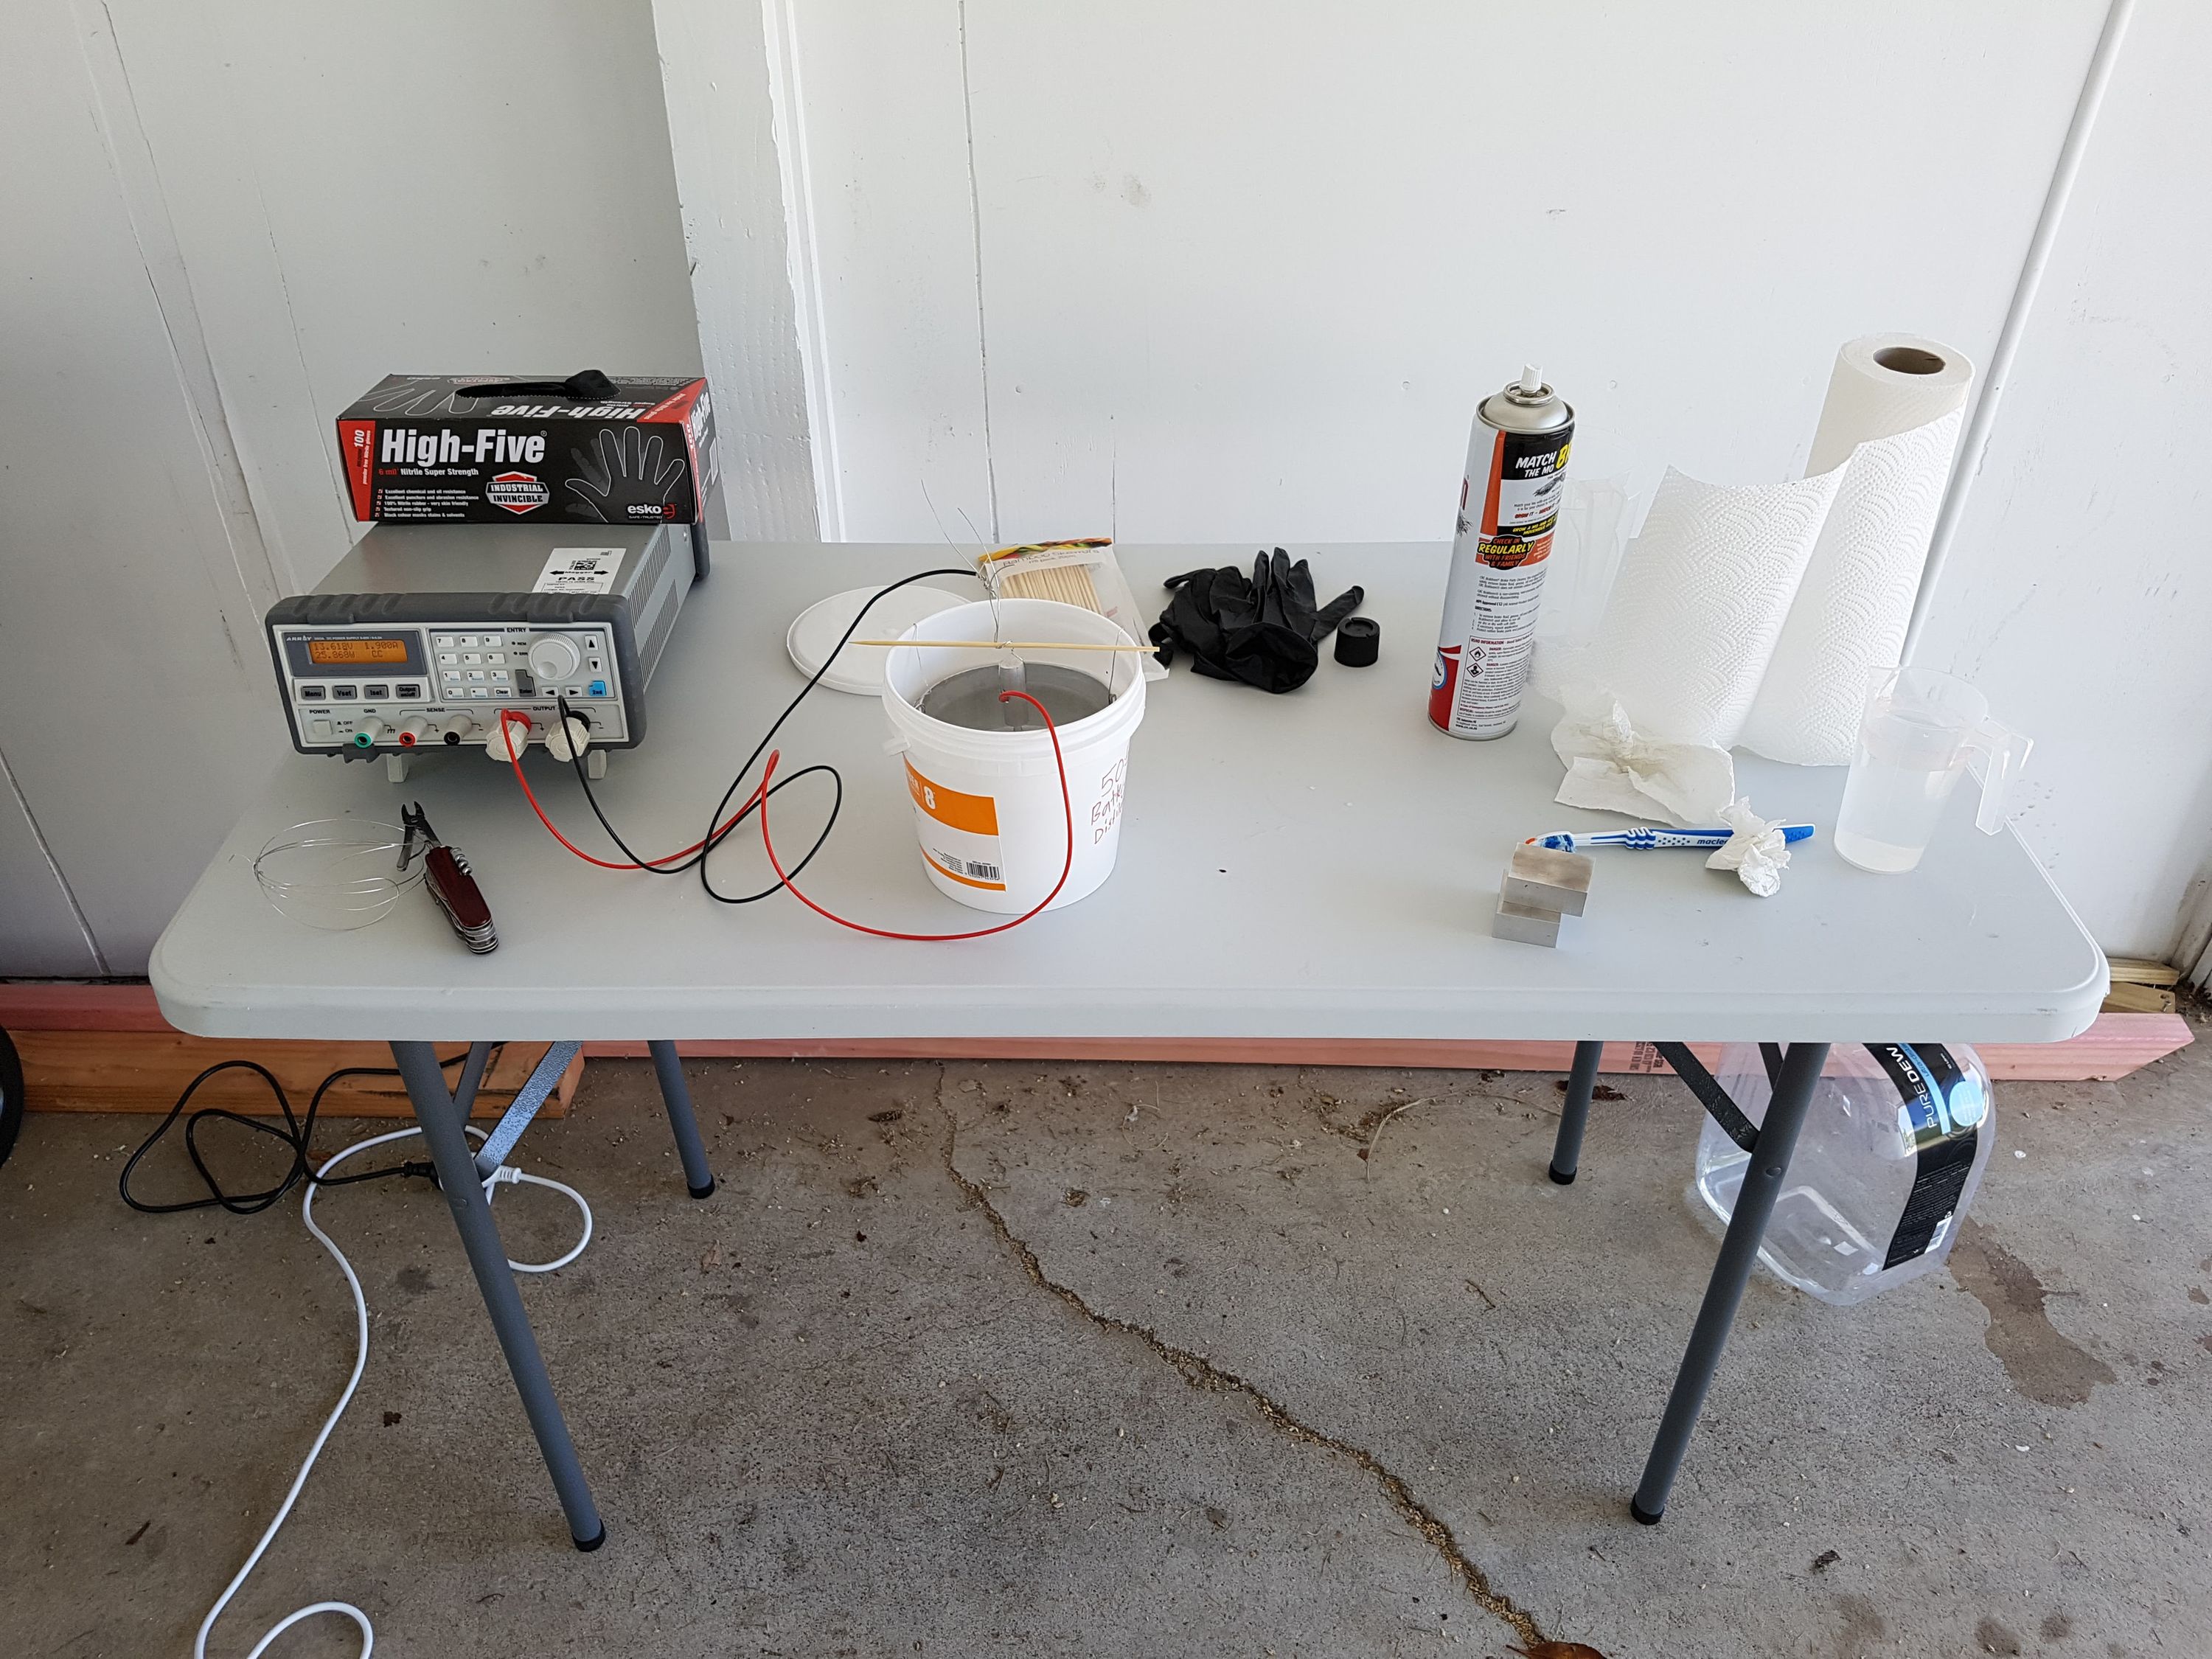 This is my anodising setup. You can see my power supply, gloves, anodising bath and stuff for cleaning.
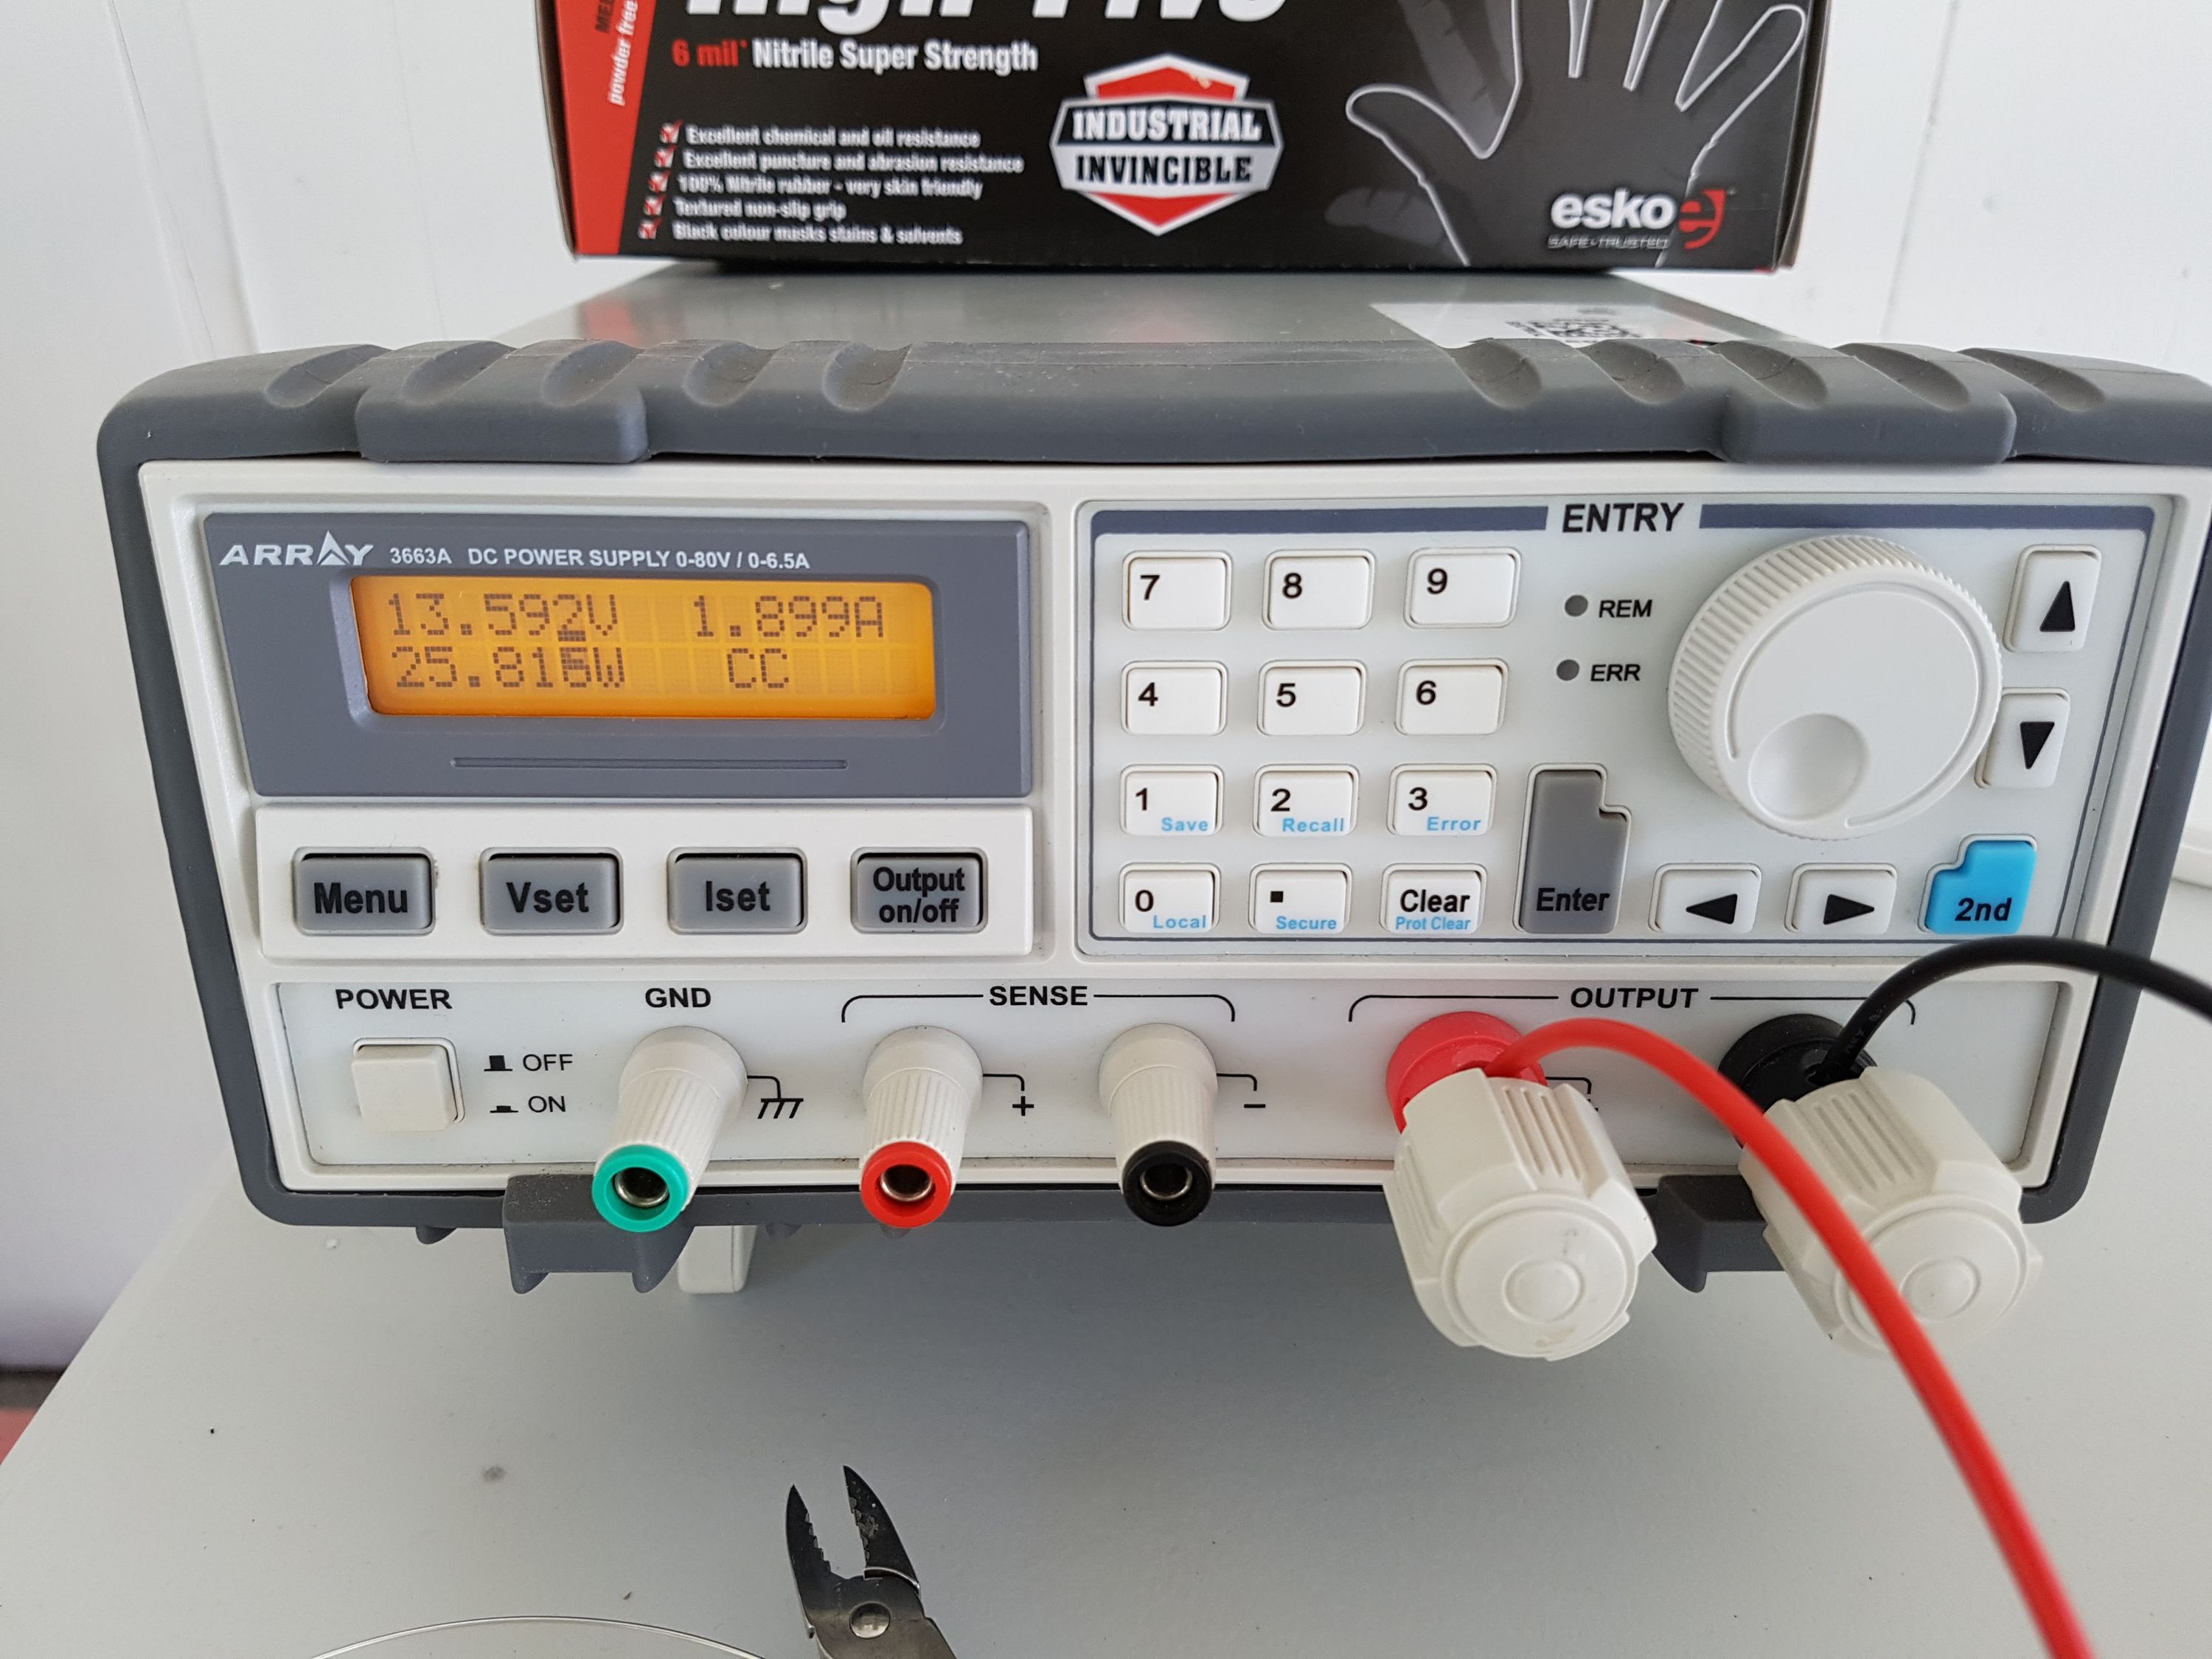 This is how I set my power supply. Constant current mode at 1.9 A (0.28 mA / mm^2).
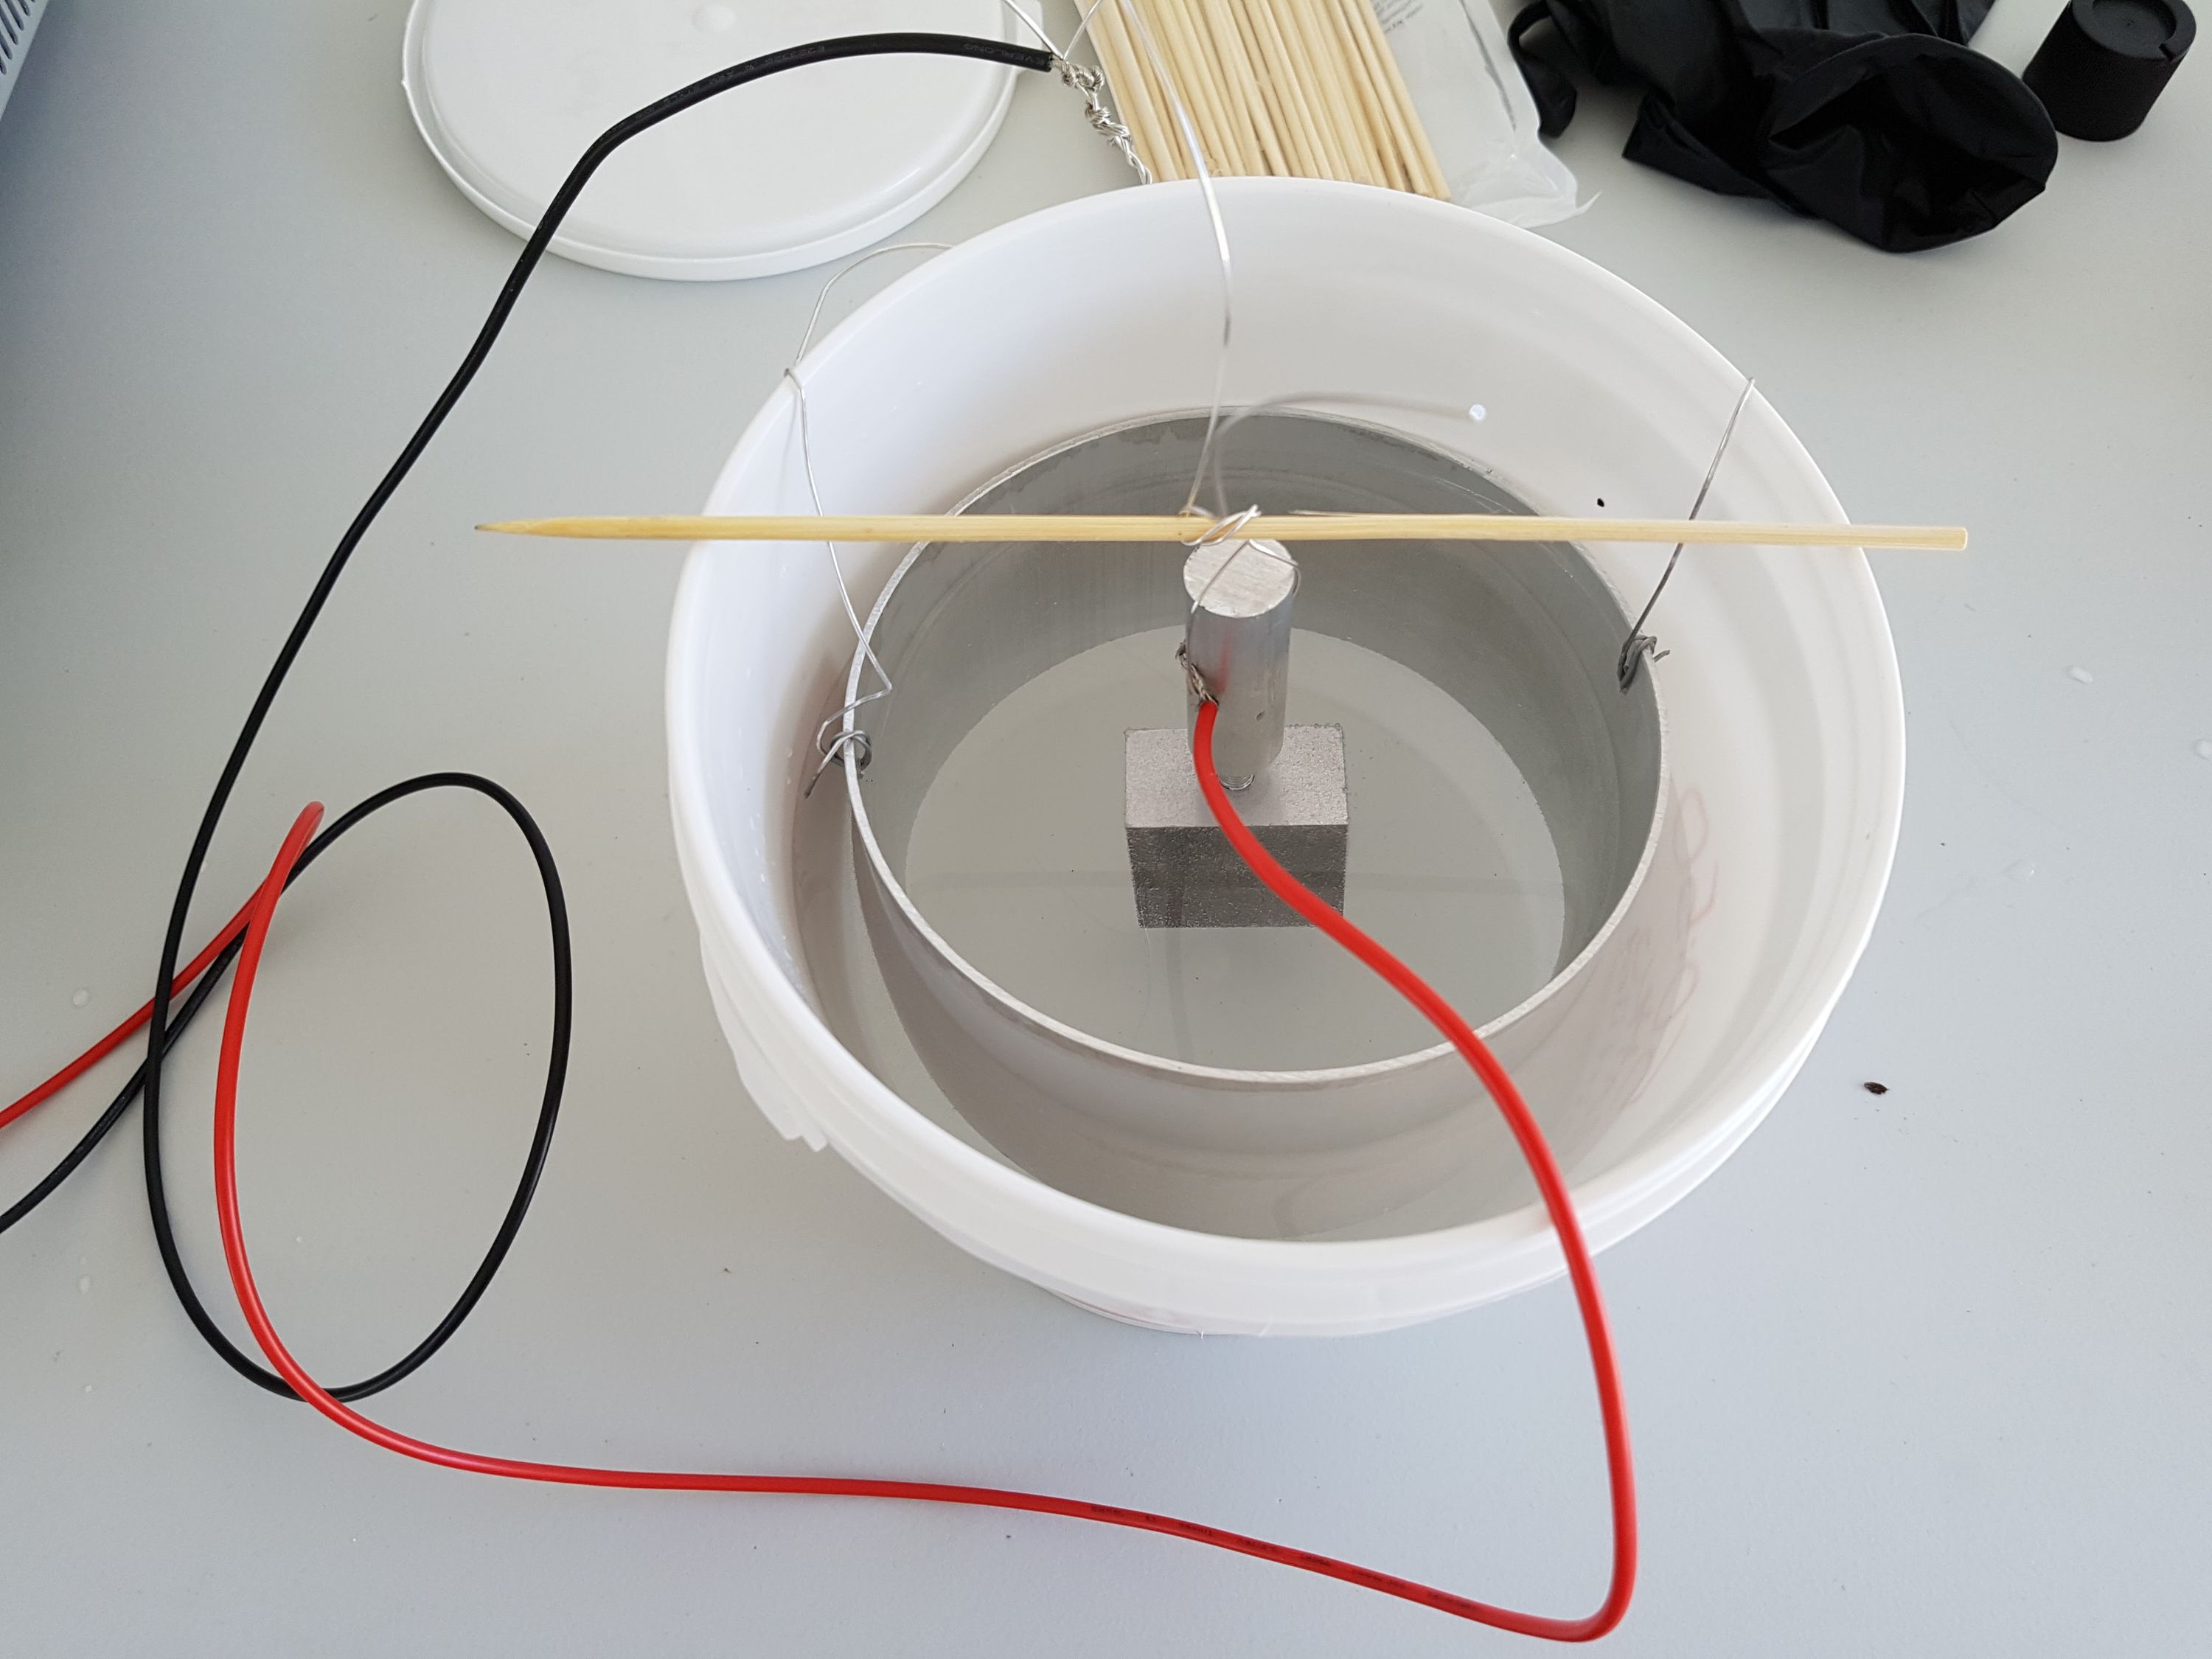 Top view of the anodising bath with part in there bubbling away.
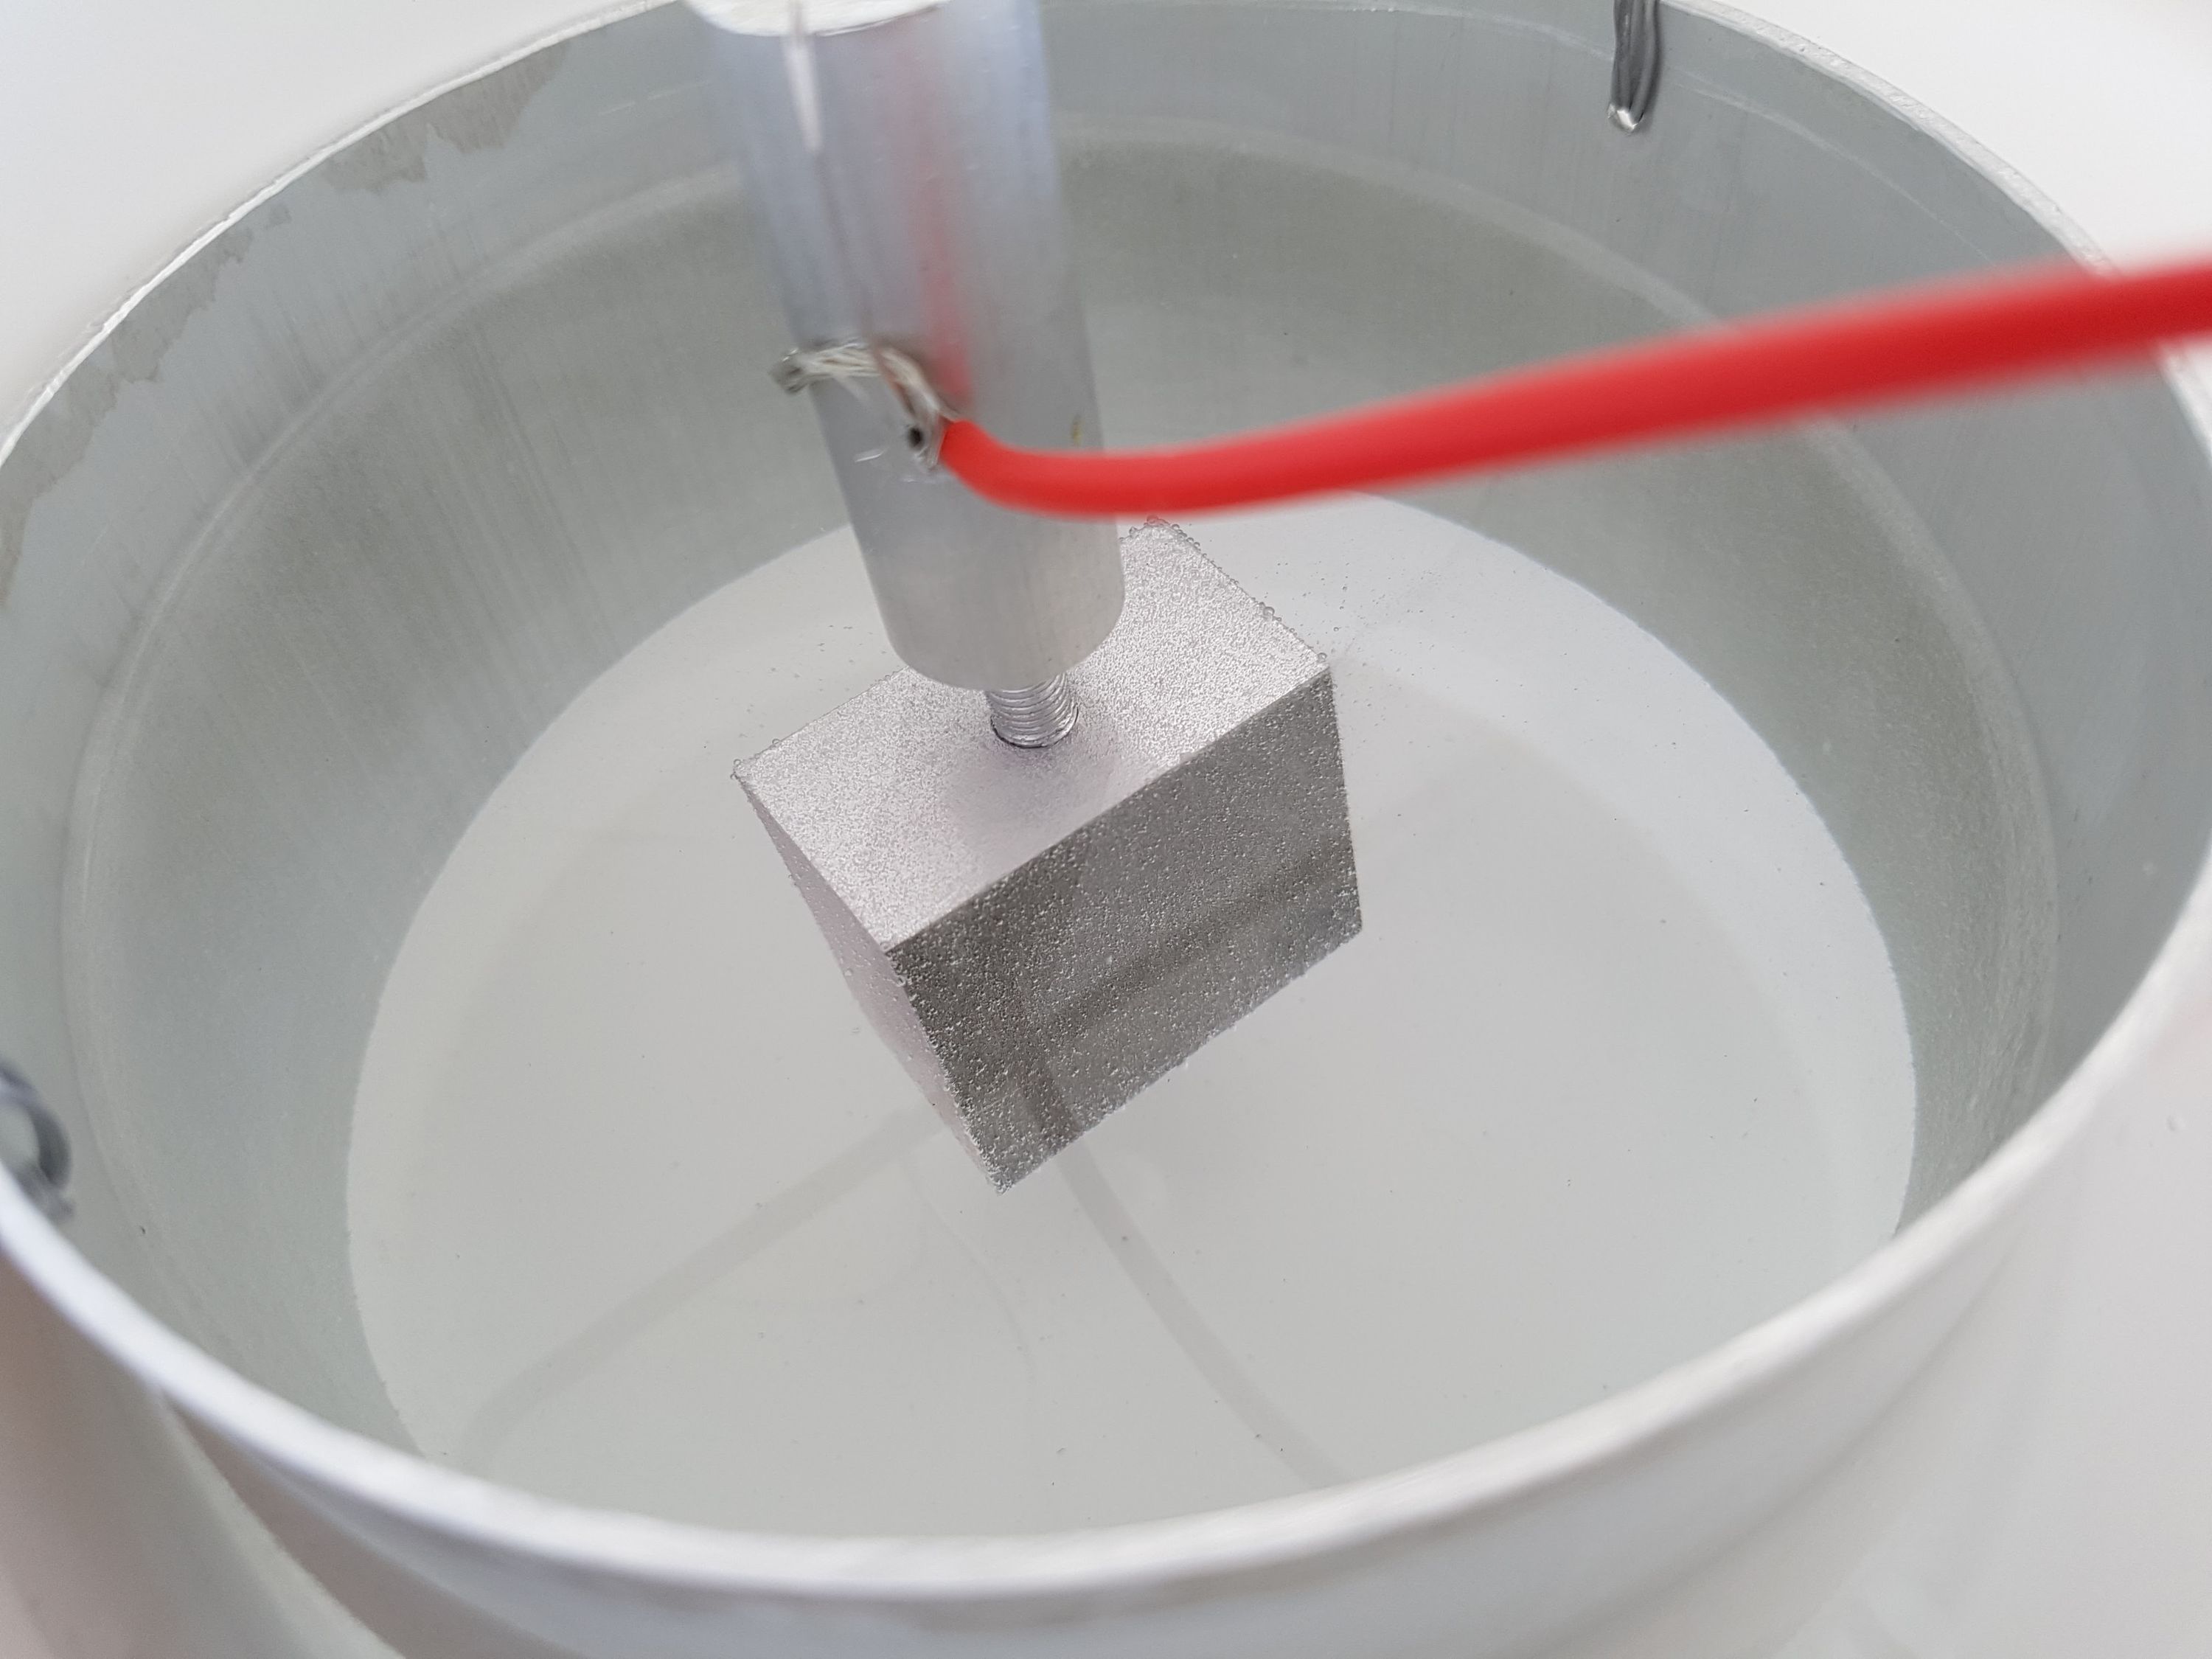 Close up of the part anodising.
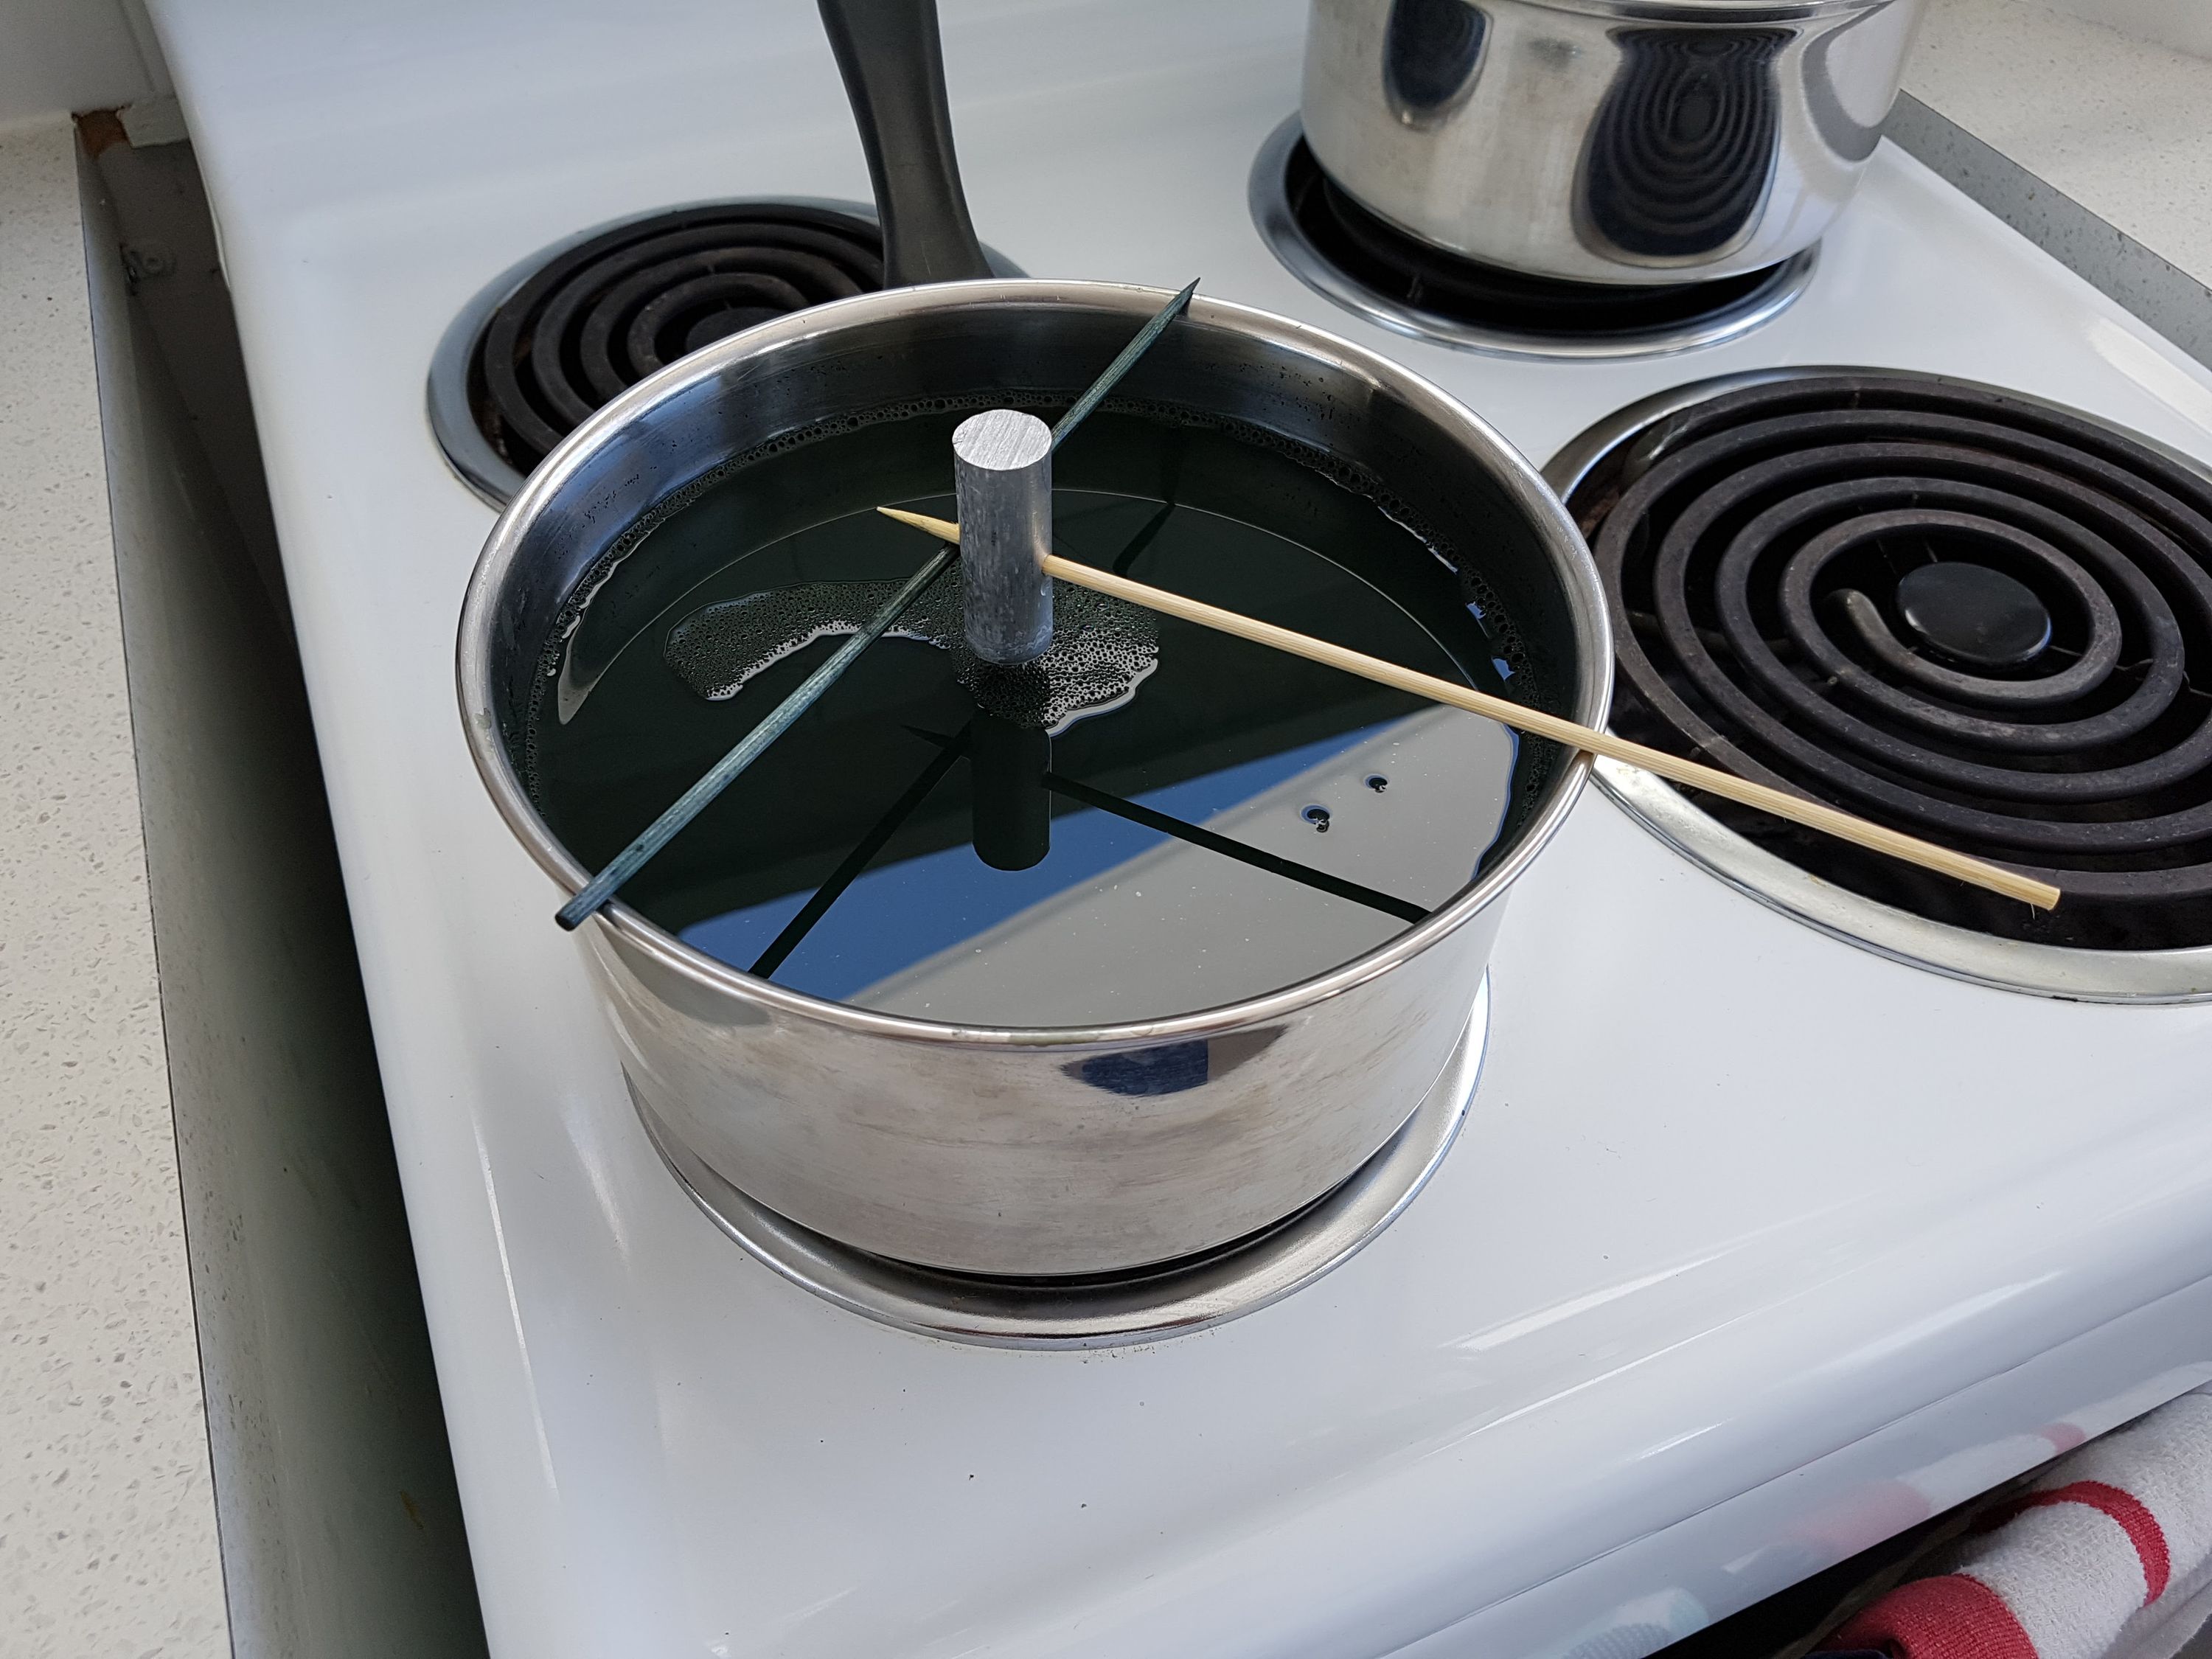 The part hanging in the dye bath. It’s on the stove but it’s not on.
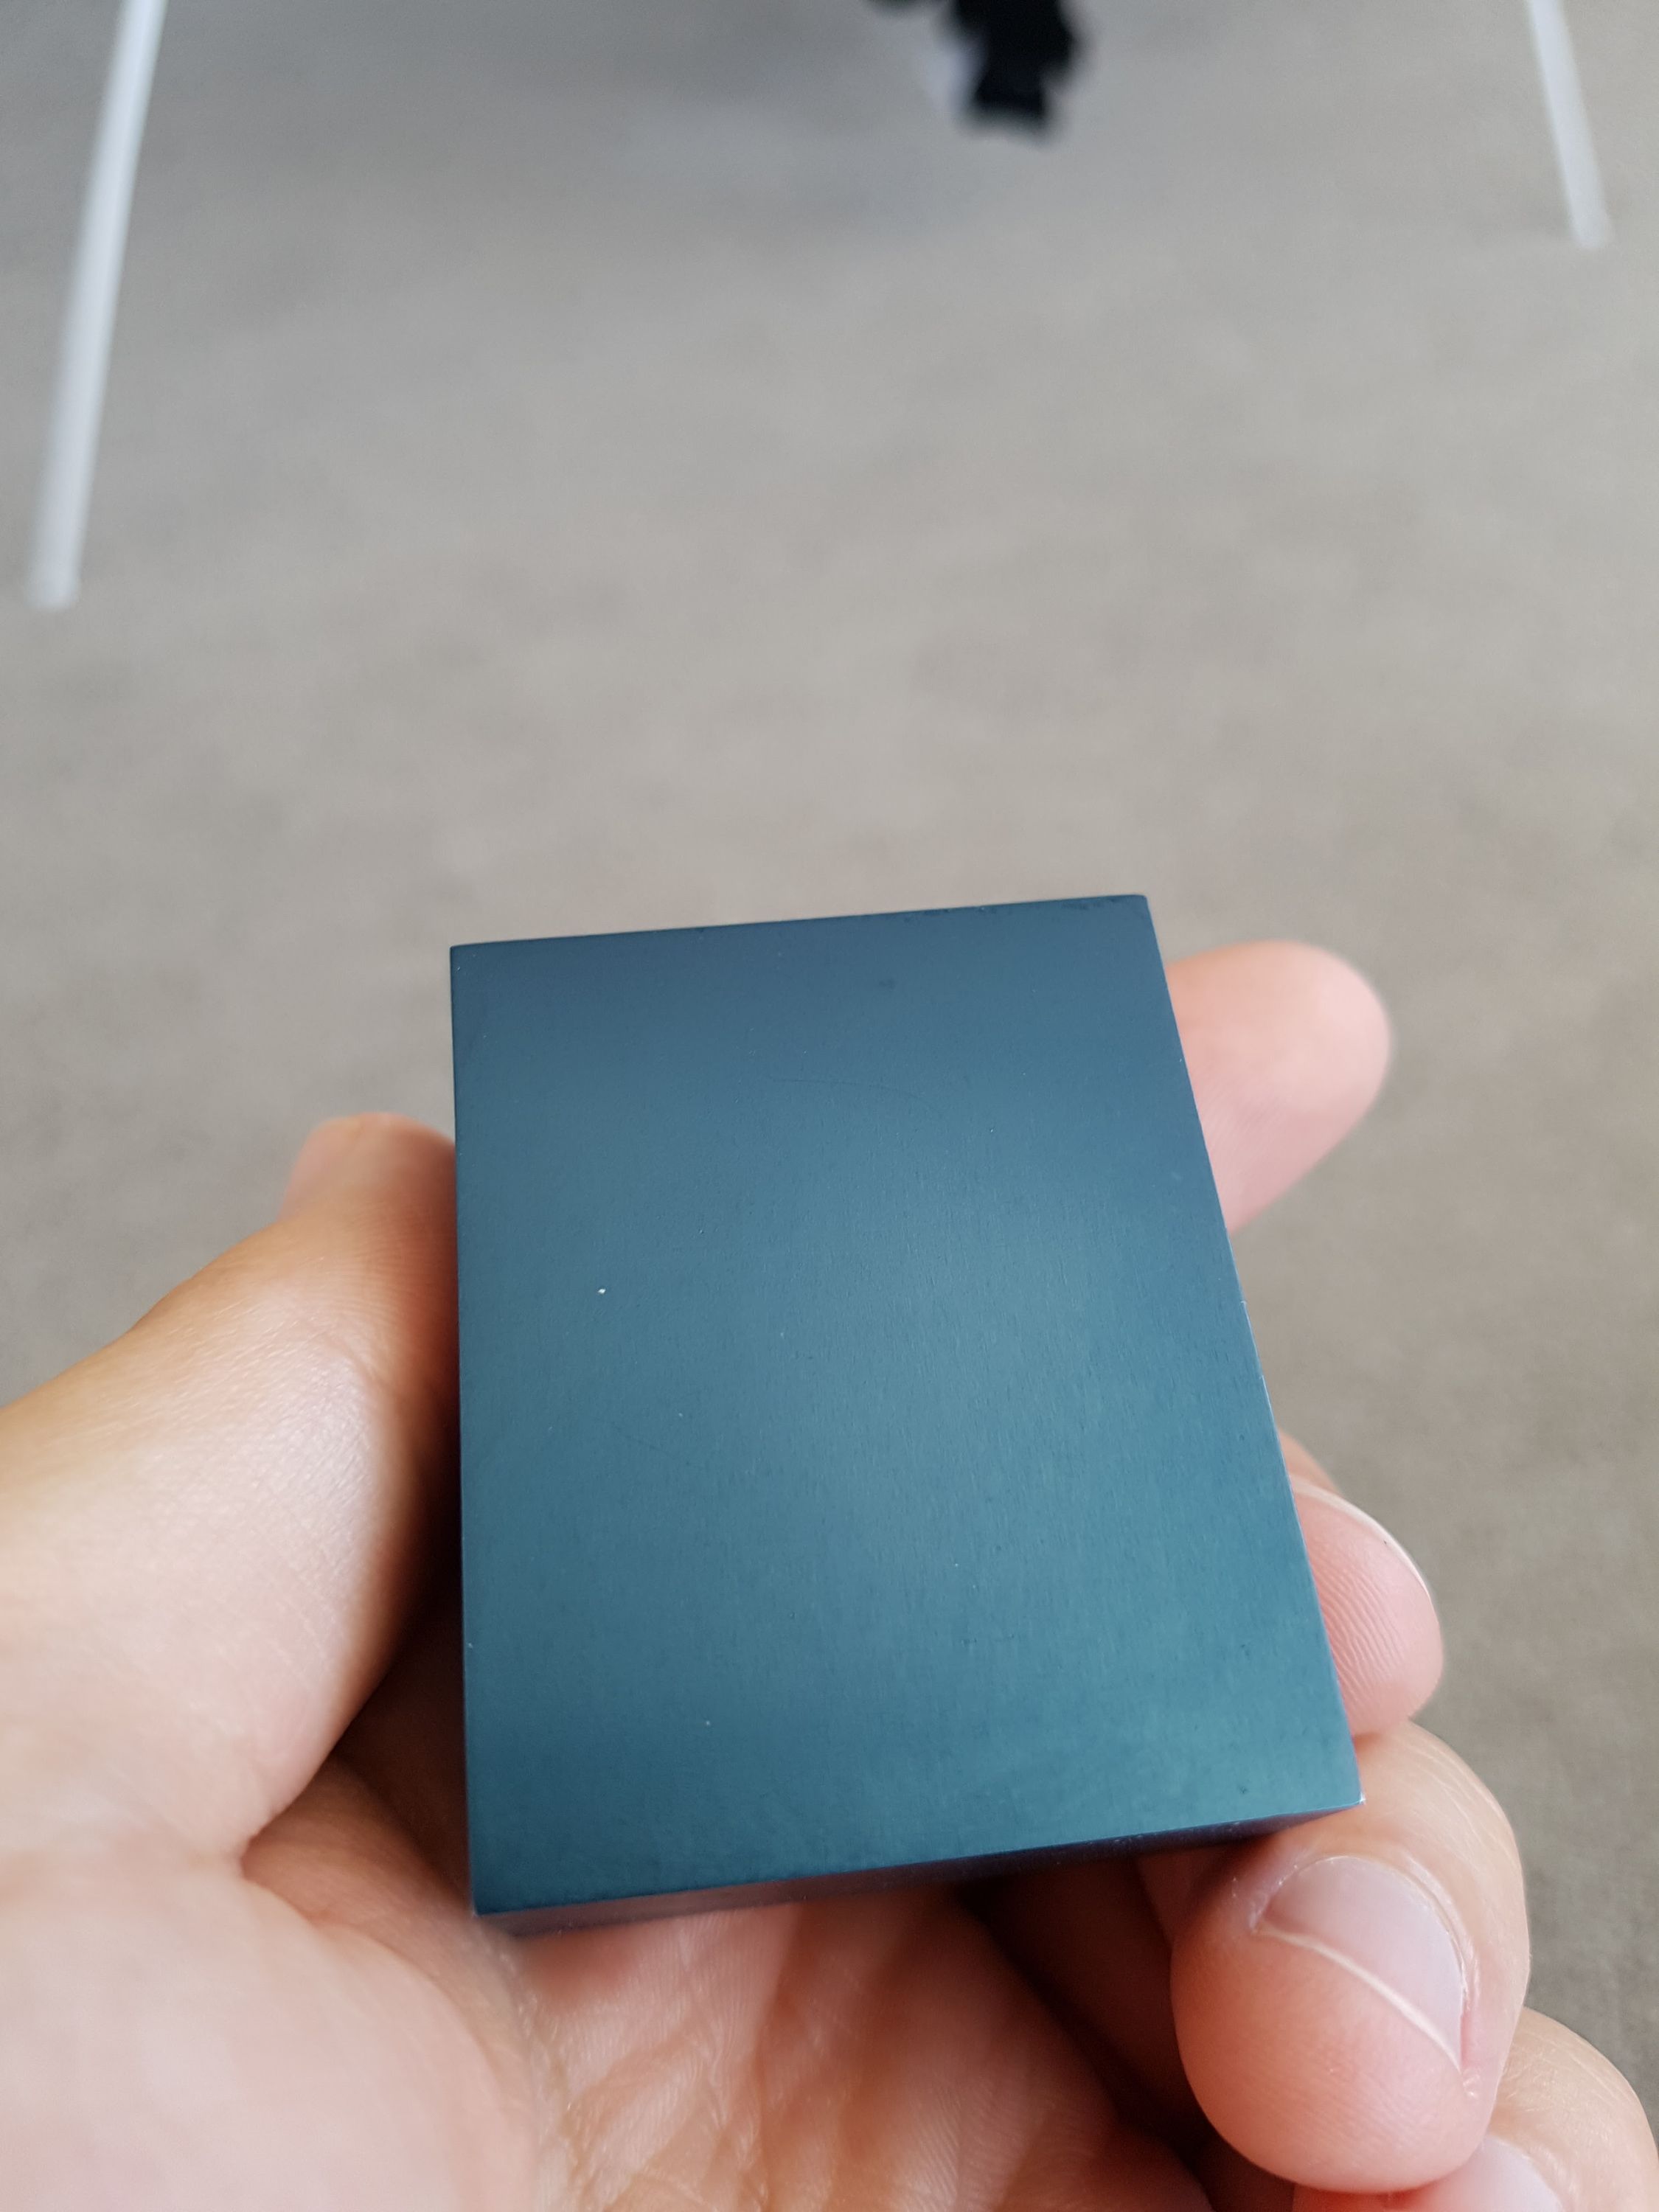 The finished part (this was number 13).
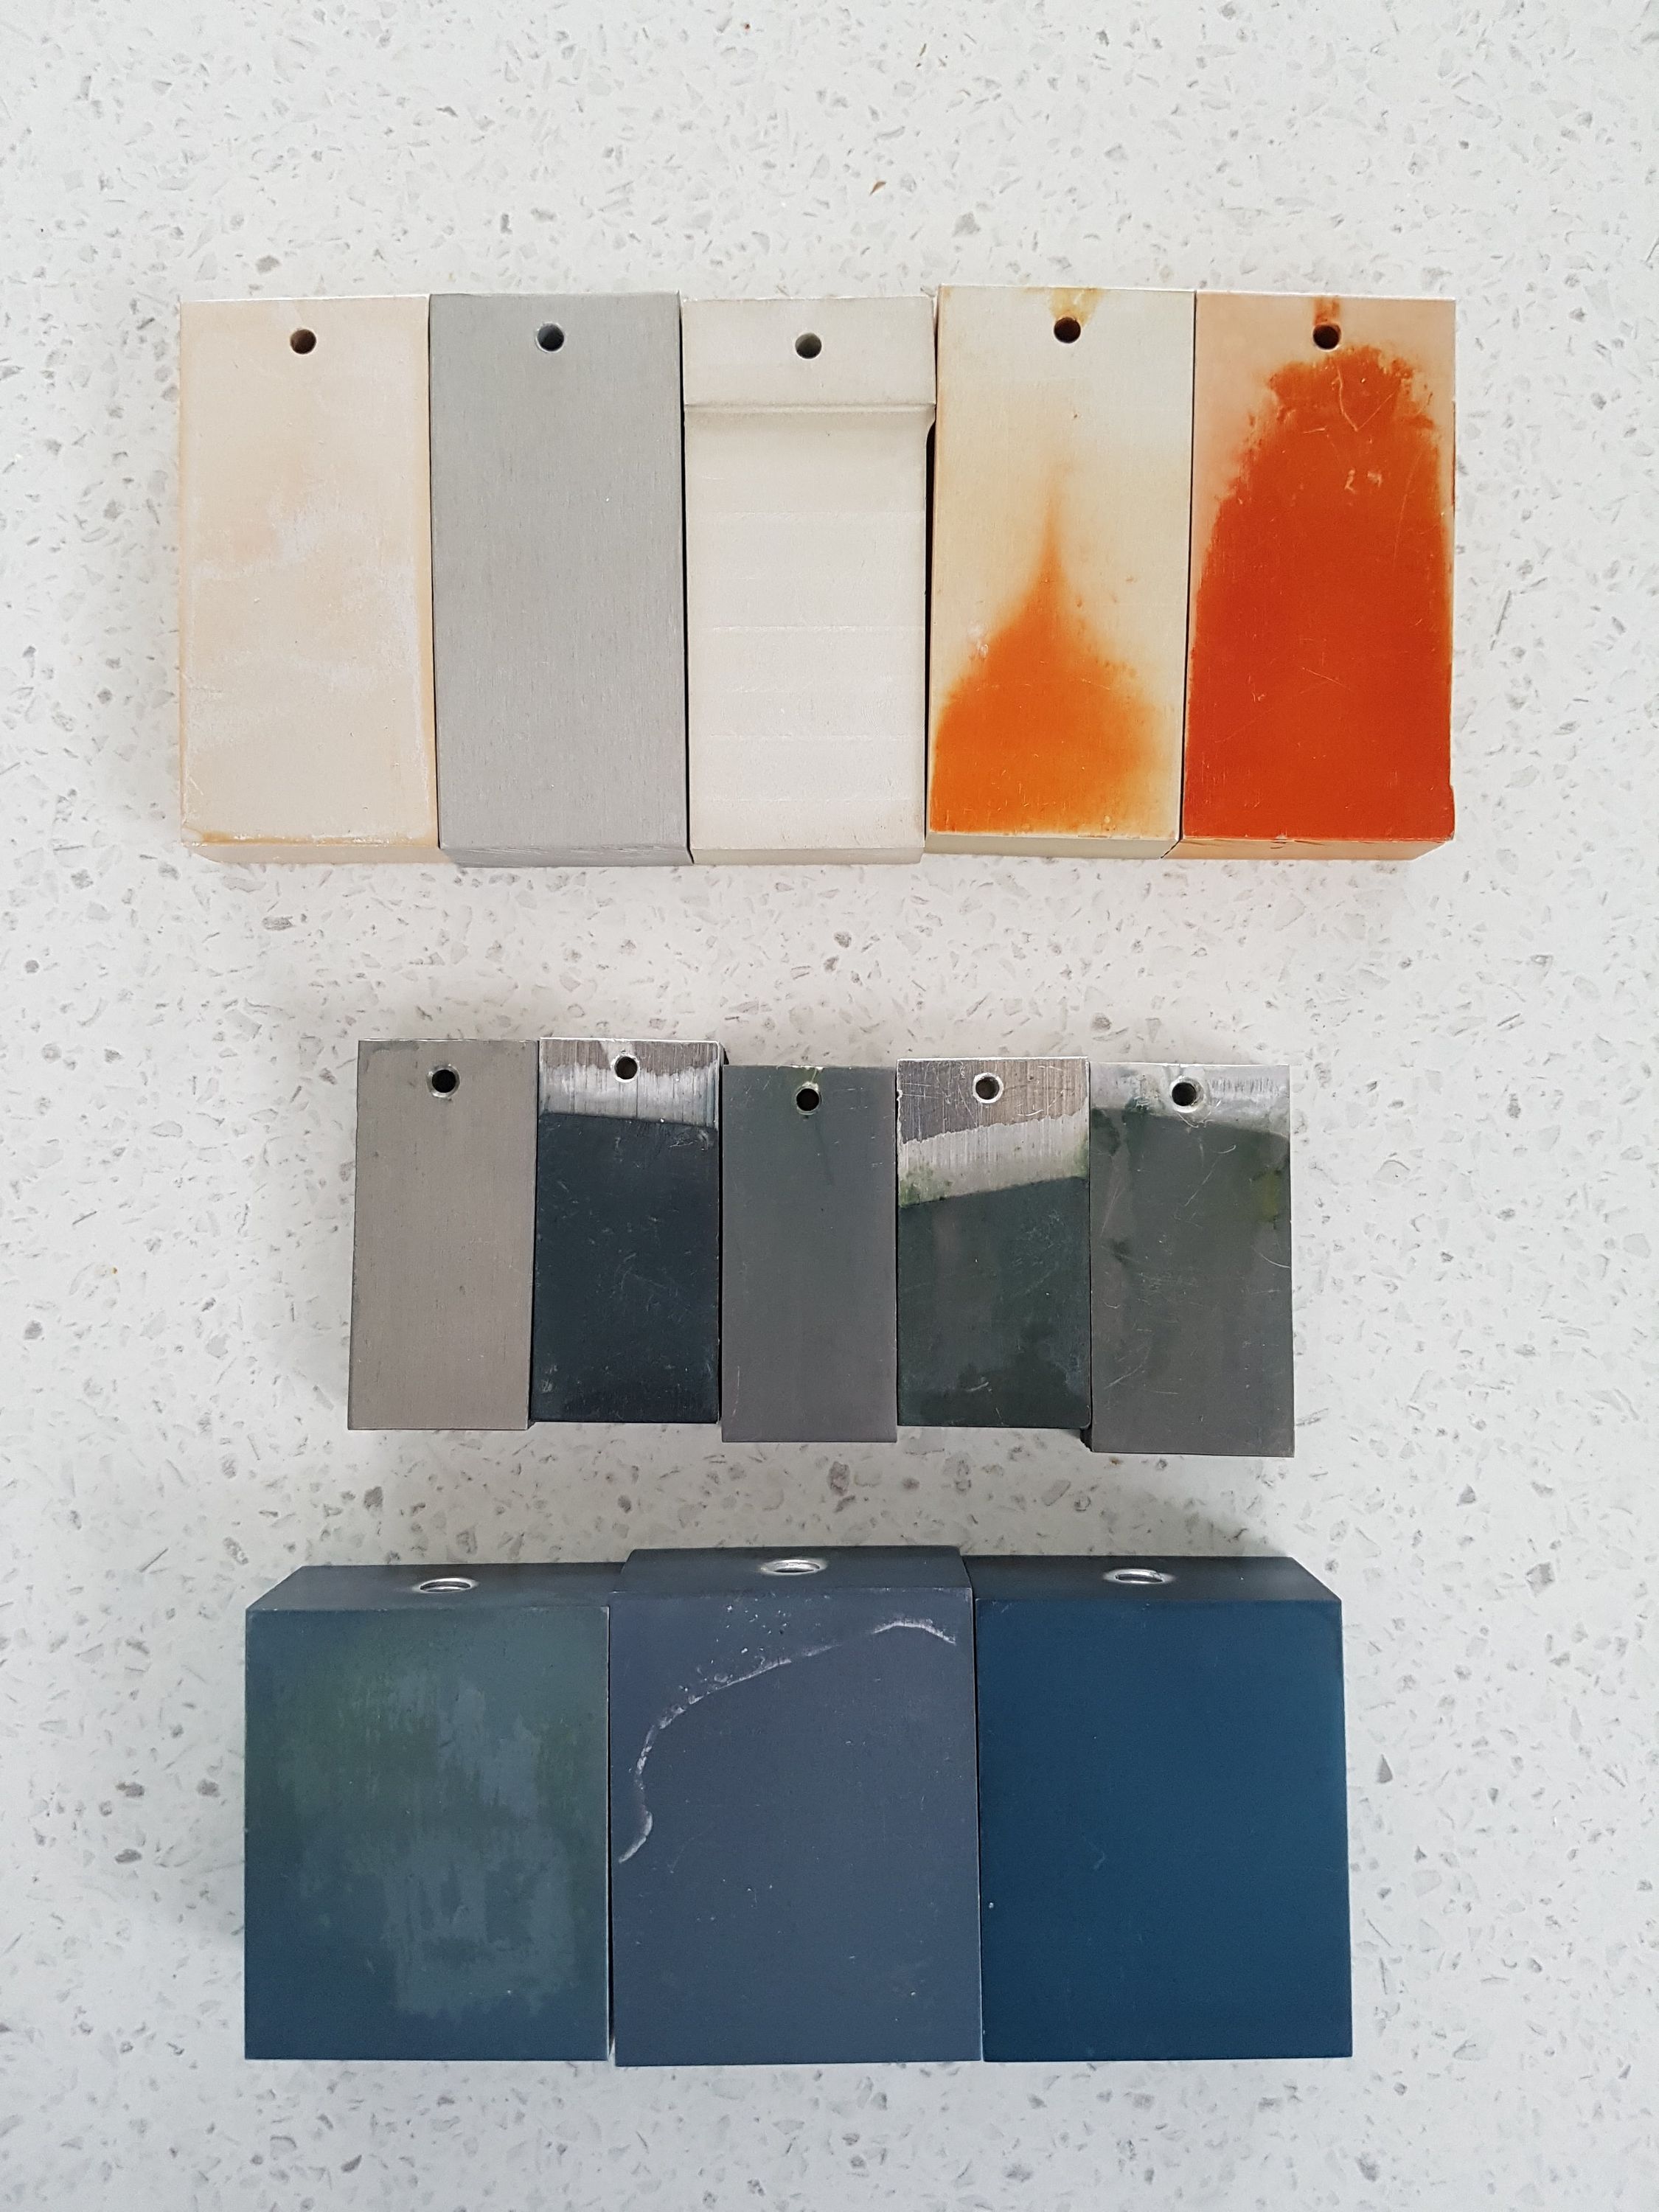 All 13 attempts in chronological order. I used orange dye for the first set and green after that. You can see some of the different things I tried to improve results.
 |||
|||